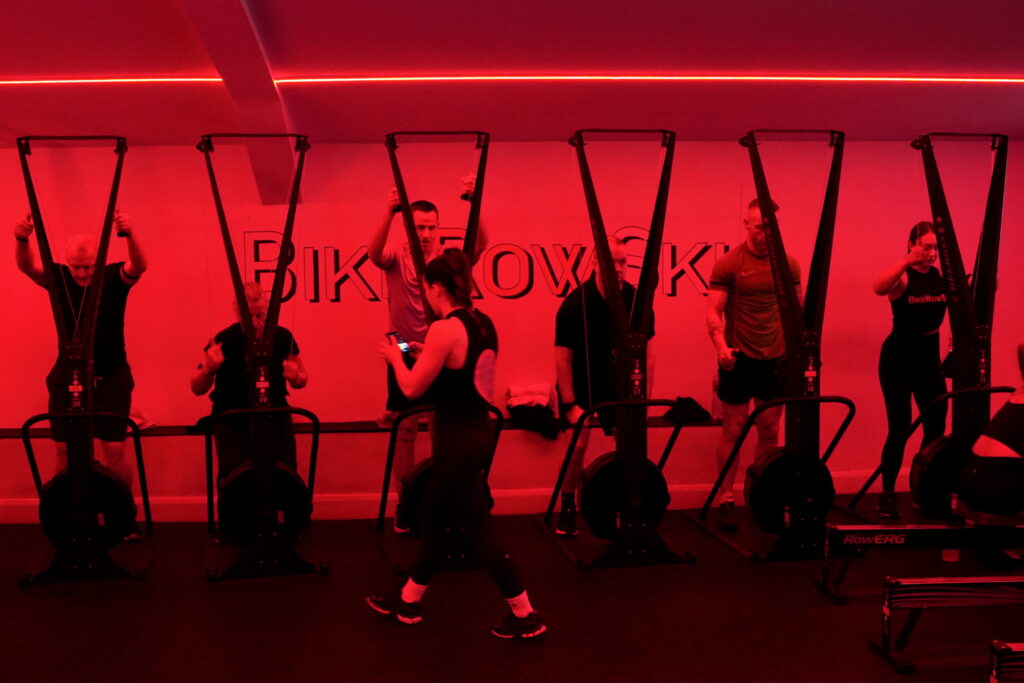
Every time a member attends a BikeRowSki class, our goal is to create an amazing experience from the music and lights to the supportive group atmosphere.
But as a coaching-focused studio, our main aim is to help members move safely and efficiently so they can get the most from their time on the ergs.
Out of the three machines we use: BikeErg, RowErg and SkiErg. The RowErg tends to highlight the most movement issues. That’s completely normal, especially for people who are new to rowing.
The good news is that small technique adjustments can make a big difference. With a few simple cues, you can row more comfortably, generate more power and improve your aerobic training.
Let’s look at some common RowErg movement patterns and how to improve them.
Understanding RowErg Positions: Catch and Finish
When coaches talk about efficient rowing technique, we often refer to two key positions:
The Catch – the forward starting position of the stroke.
The Finish – the final position at the end of the stroke.
These positions create consistency and rhythm in your rowing.
However, it’s important to remember that not everyone will look identical on the RowErg.
Your ideal position can depend on several factors, including:
- height
- limb length
- joint mobility
- muscle flexibility
- training background
For example, a taller person with longer legs and tighter hips may find it difficult to reach the traditional “textbook” catch position.
Someone shorter with more mobility may find the same position very comfortable.
Both people can still row efficiently — their setup may simply look slightly different.
Adjusting the Catch Position for Your Body
A common cue in rowing is to aim for vertical shins at the catch with a neutral spine.
For some people, this works perfectly.
For others (especially taller members with longer femurs), this position may feel cramped or uncomfortable.
In this situation, coaches might suggest starting slightly further back on the seat rail. This creates a slightly less vertical shin angle but allows the rower to maintain a comfortable neutral spine.
This adjustment often makes rowing feel much more sustainable over the course of a workout.
On the other hand, a shorter or more mobile athlete may naturally reach the vertical shin position without discomfort.
Both setups can work well — the key is finding a position that allows you to move consistently and comfortably.
The Finish Position Should Look Similar for Everyone
While the catch position may vary between individuals, the finish position tends to be more consistent.
At the end of the stroke you should aim for:
- legs fully extended
- toes lightly pressing into the footplate
- a slight lean back past vertical
- the handle touching the upper abdomen
- elbows moving past the body
This position allows you to complete the stroke efficiently before beginning the recovery phase.
Common RowErg Technique Issue #1: Pulling Too Early
One of the most common technique issues we see is pulling on the handle too early in the stroke.
This usually happens when someone starts pulling with their arms or leaning back before their legs have generated power.
Instead of:
legs → hips → arms
the movement becomes:
arms → lean → legs
This reduces power and can make rowing feel harder than it needs to be.
How to fix it
Next time you’re in class, check in with your stroke sequence.
Try to:
- stay patient in the catch position
- drive through the legs first
- delay pulling the handle slightly
- keep the handle close to the flywheel early in the stroke
Once the legs extend, then allow the hips to swing and finish the stroke with your arms.
With a little practice, you’ll often notice more metres for less effort.
Common RowErg Technique Issue #2: Rushing the Recovery
The recovery phase — moving from finish back to catch — is just as important as the drive phase.
Many rowers rush this part of the stroke, which can break rhythm and make the next stroke less efficient.
A good recovery sequence looks like this:
- Hands move away first
- Body leans forward slightly
- Knees bend and the seat rolls forward
This sets you up to arrive smoothly back into the catch position.
What to watch for
Ask yourself during your next session:
- Are my hands leaving the body first?
- Am I leaning forward before bending the knees?
- Is the chain staying level and feeding smoothly into the flywheel?
Avoid dropping the handle too low or allowing slack in the chain, as this can disrupt the next stroke.
Why Good Rowing Technique Matters
Improving your RowErg technique doesn’t just make rowing look better — it can also improve your overall training experience.
Good technique helps you:
- generate more power
- maintain a steady aerobic heart rate
- row more comfortably during longer intervals
- reduce unnecessary fatigue
Most importantly, efficient movement helps you get more from every BikeRowSki session.
Rowing Technique Improves With Practice
Rowing technique takes time to develop, especially if you’re new to erg training.
The goal isn’t perfection — it’s consistent improvement.
Each class is an opportunity to notice small details:
- your catch position
- the timing of your leg drive
- your recovery rhythm
Over time, these small adjustments add up to smoother, stronger and more efficient rowing.
And as your technique improves, you’ll often find that rowing becomes more enjoyable as well as more effective.
FAQ: RowErg Technique
What is the correct rowing sequence?
The ideal sequence is legs → hips → arms during the drive, and arms → hips → legs during the recovery.
Why does rowing sometimes feel difficult?
Rowing can feel harder if the movement sequence is off or if you’re pulling with the arms too early. Small technique adjustments often make rowing feel much smoother.
Do beginners need perfect rowing technique?
Not at all. Technique develops over time. Coaches will guide you through the movements so you can improve gradually while still enjoying the workout.